
Important: Make sure you are logged in to https://naam.mycampusprint.nl
If you have an older version of the Internet Printer installed, first remove the old version.
1. Download the file for the xxx Internet Printer here.
2. Double-click on the downloaded file.
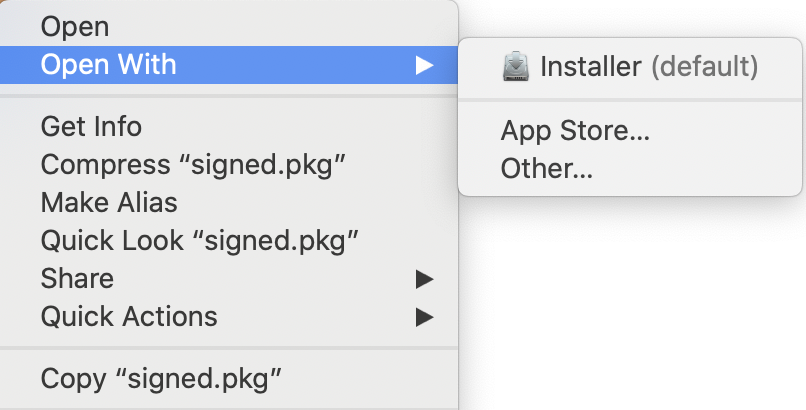
3. Ctrl-click on signed.pkg.
4. Click on Open with > Installer (default).
5. Click on [Continue].
8. Click [Install] in de [Installation Type] page.
9. Enter your Mac administrator credentials and click [Install software].
10. When the installation has been completed, click [Close].
11. You can now remove the installation program.
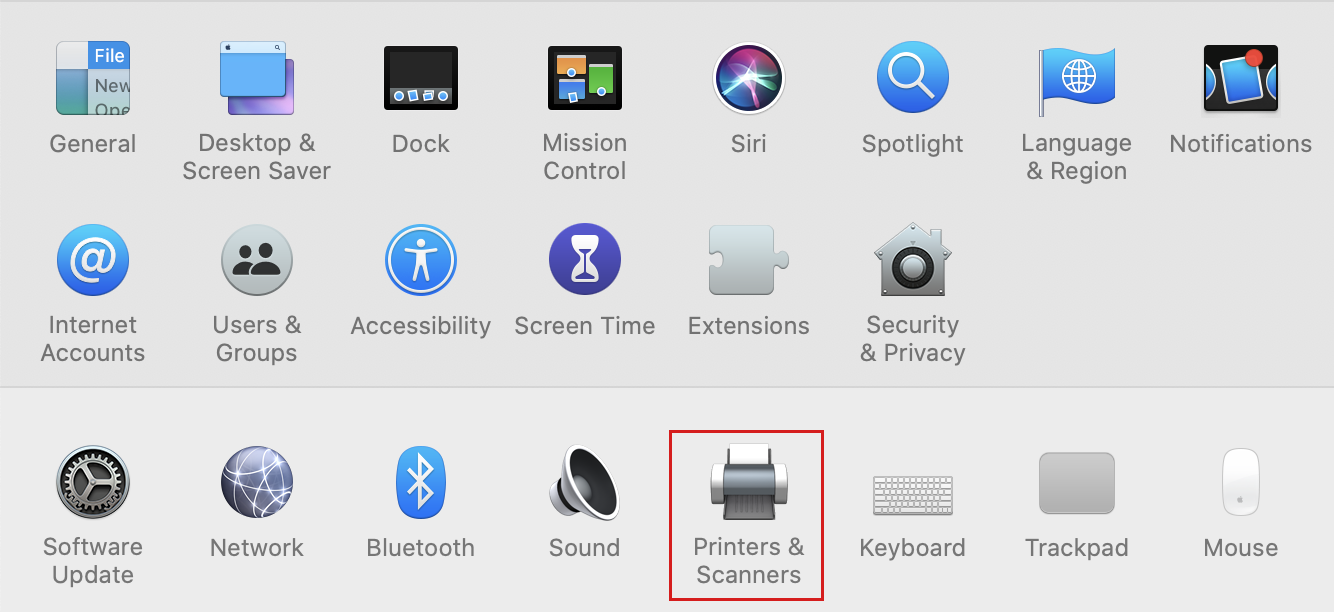
12. Go to ![]() > System Preferences > Printers & Scanners
> System Preferences > Printers & Scanners
13. Control-click the just added printer.
14. Select [Set as default printer] if you want to use the xxx Internet Printer as default printer.